20 Sleek Low Bun Hairstyle Ideas
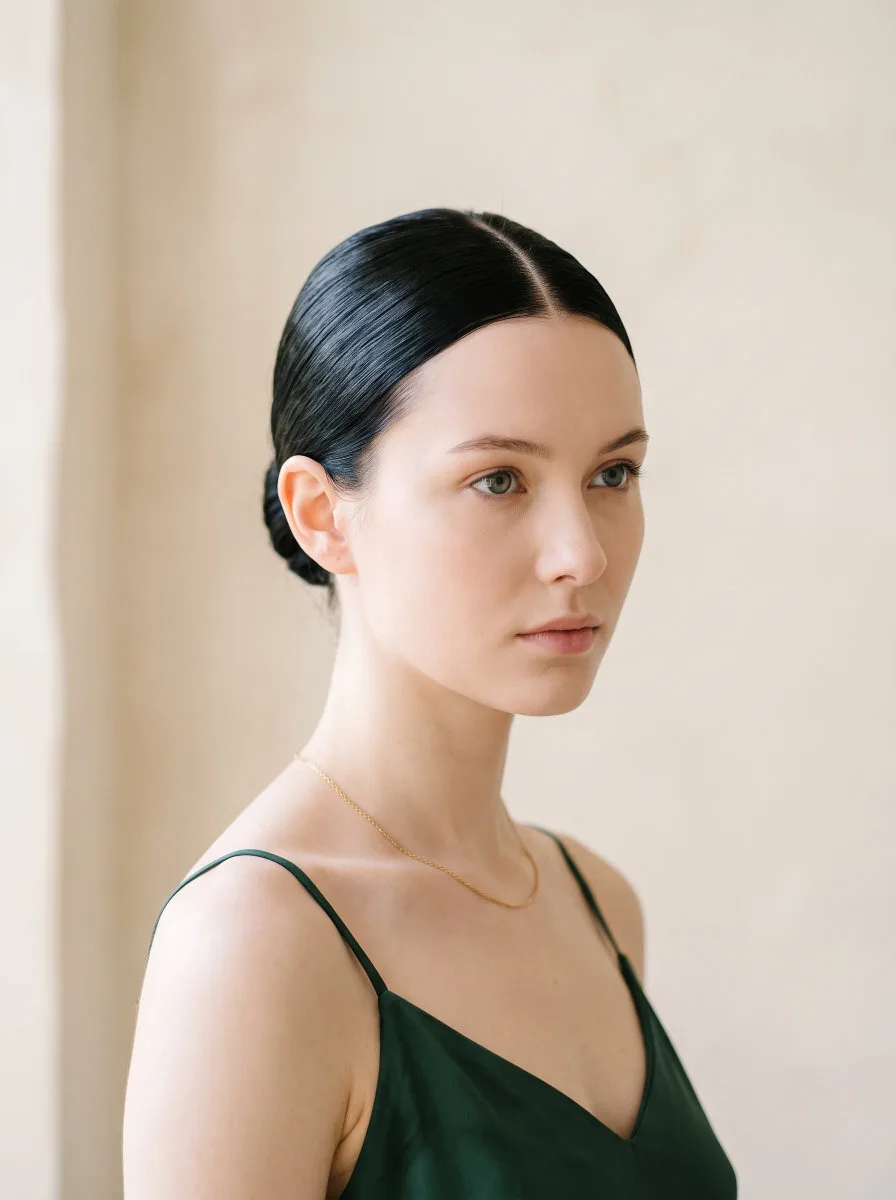
There’s a reason the sleek low bun looks different on some women, and it has nothing to do with hair type. Most people blame fine hair, or thick hair, or the wrong texture. But the women getting it right aren’t working with better hair. They’re using a different product layering order, and they’re choosing the right variation of the style for their face shape and occasion.
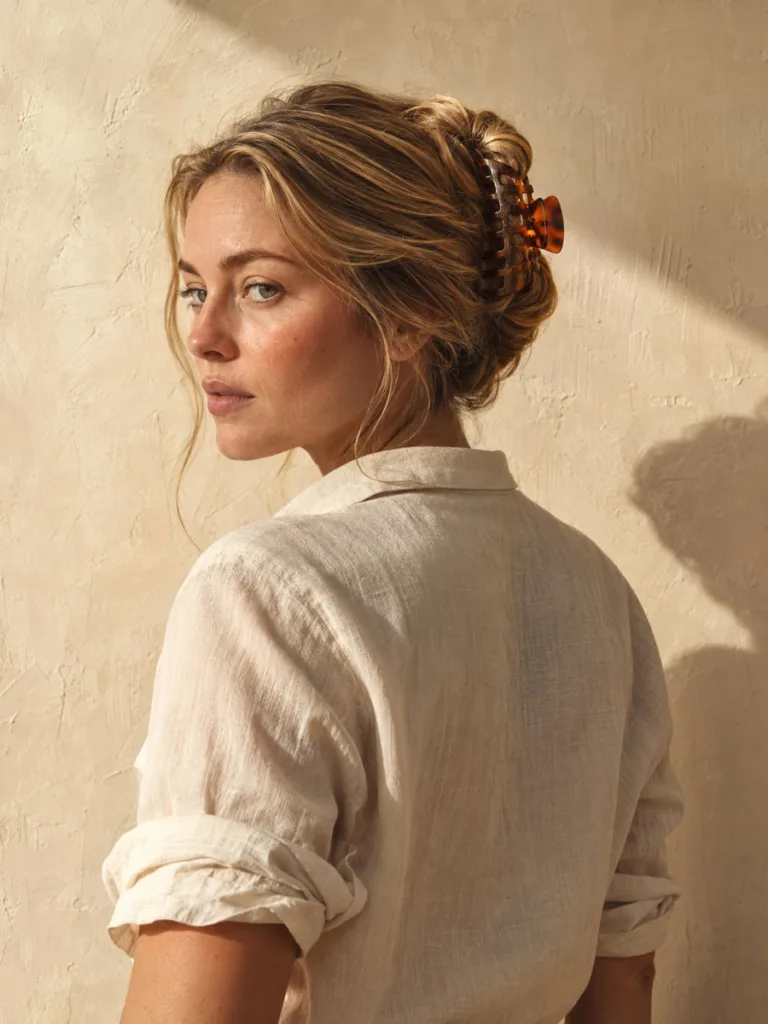
The sleek low bun sits at the nape of the neck with a smooth, glass-like surface and no flyaway. It works for a board meeting, a wedding, or a casual weekend without changing the base technique. The 20 variations below cover what each version takes and who it works best for.
What You’ll Need For Sleek Low Bun Hairstyle
Tools:
- Boar bristle brush
- Fine-tooth comb
- Snag-free hair elastics (2–3)
- Bobby pins (10–15)
- Hairnet (optional)
Products:
- Smoothing cream or serum: apply through damp or dry hair before brushing back. This creates the glass-like surface and controls frizz at the scalp.
- Light-hold gel: use along the hairline and edges to flatten them without leaving a stiff or crunchy finish.
- Dry oil spray: apply over the finished bun for shine without adding weight or making the hair look greasy.
- Strong-hold hairspray: the final step. Seals the surface and keeps everything in place for hours.
Hair Type Notes:
Fine hair: add mousse before blow-drying for grip. Hairspray is not optional.
Thick hair: use more gel than feels necessary, worked through the length before pulling back.
Curly or wavy hair: blow-dry straight first, or lean into a softer version of the style with a strong smoothing cream and a bit of visible texture.
20 Sleek Low Bun Hairstyle Ideas To Try
Classic Sleek Low Bun Styles
1. Classic Center-Part Sleek Low Bun Hairstyle
Part your hair exactly down the middle using a fine-tooth comb with a small amount of gel on the teeth for a crisp line. Brush everything straight back with a boar bristle brush, keeping pressure close to the scalp to avoid ridges. Gather at the nape, tie with a snag-free elastic, twist the ponytail tightly, and coil it into a compact bun. Secure with bobby pins crossed in an X. Smooth gel along the hairline, spritz dry oil over the bun, then seal with strong-hold hairspray. This is the version you’ve seen on Hailey Bieber. Clean, minimal, works on every hair type.
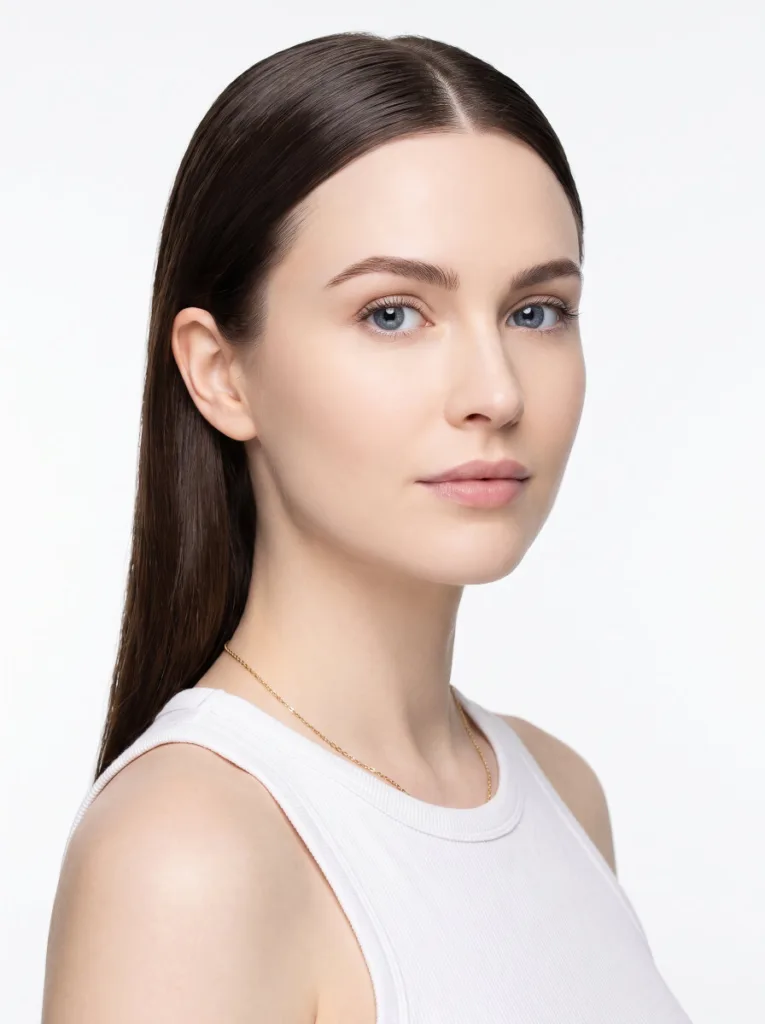
Best for: oval and heart-shaped faces, formal events, all hair types
2. Deep Side-Part Low Bun
Comb a deep side part sitting about two inches from one ear rather than at the center. Brush all the hair back from that part toward the nape, keeping the parted side flat and smooth against the scalp. Secure at the nape with an elastic, then twist and coil the ponytail into a bun. The asymmetrical part creates a longer silhouette, which is why rounder and squarer face shapes tend to do better with this version than with the center part. Finish with gel on the edges and hairspray over the whole style. It takes about the same time as the classic version.
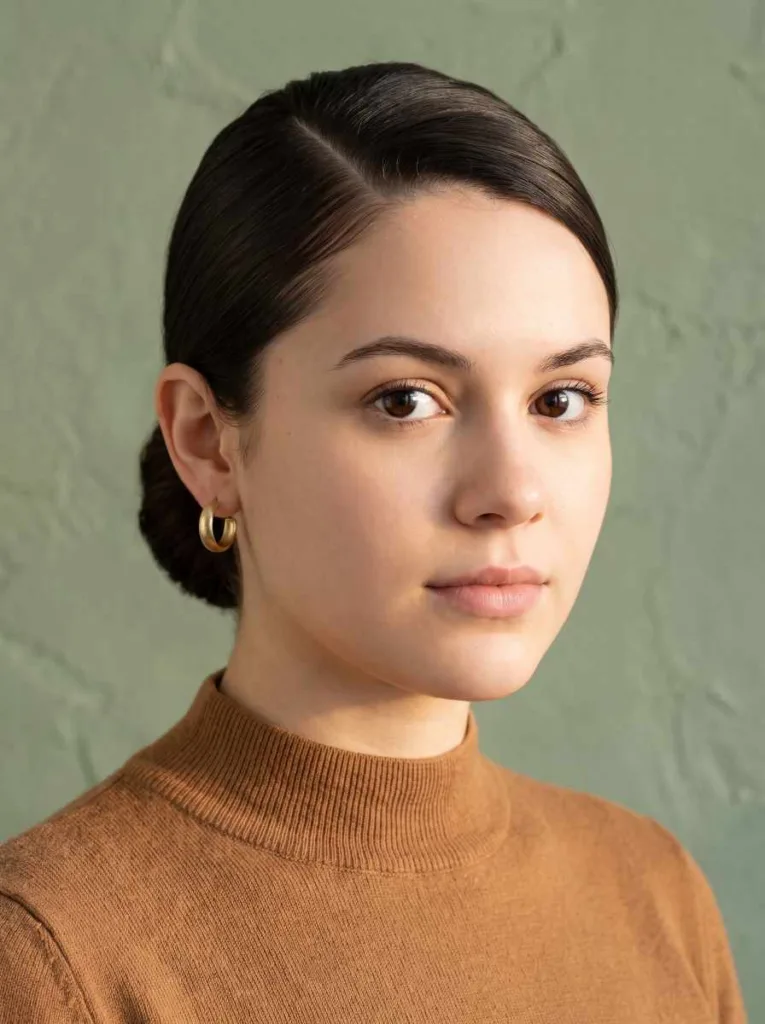
Best for: round and square faces, date nights, the office
3. Sleek Low Bun With A Middle-Part And Flat Edges
Start with a center part and follow the same base technique as style #1, but add a dedicated edge-laying step before finishing. Dip a soft toothbrush or edge brush into a firm-hold gel and press the hairline down in smooth, deliberate strokes along the temples, the sides, and the nape. Let it dry for two to three minutes before touching it. The result is a sharper, more structured look around the hairline that photographs well. This version works best on hair without thick flyaways at the perimeter, though a light-hold pomade can help tame those before you lay the edges.
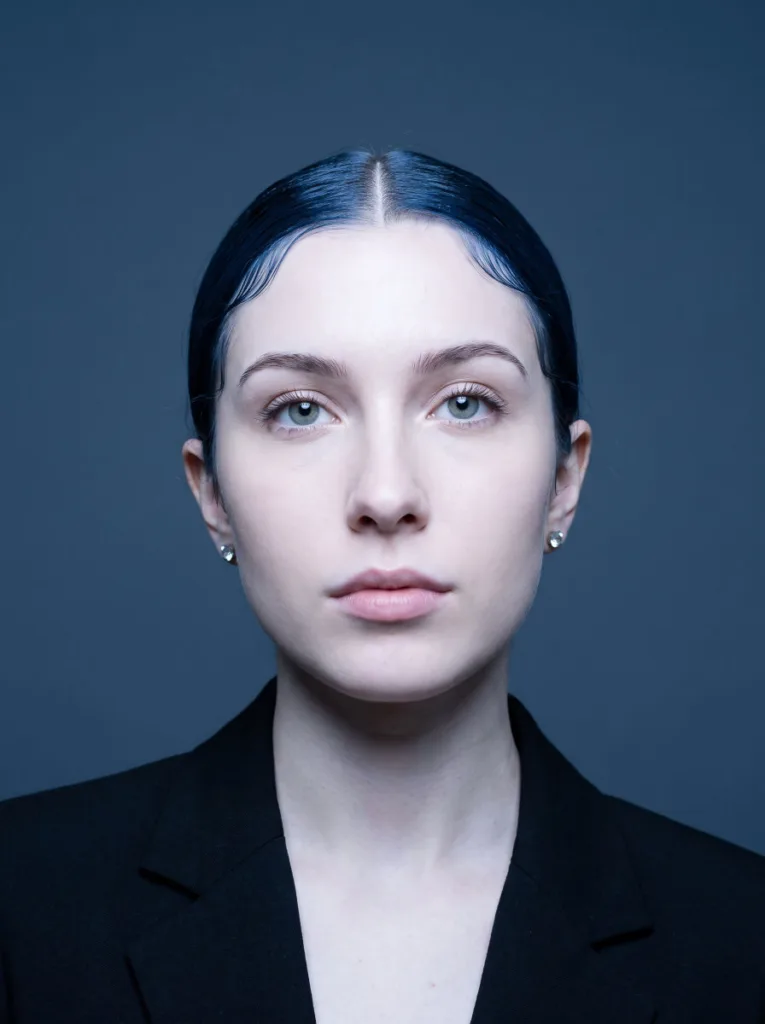
Best for: all hair types, professional settings, photos
4. Low Bun With Face-Framing Tendrils
Before brushing your hair back, pull a thin section (about a pencil-width) from each side at the temples and clip them forward out of the way. Complete the bun as usual with the remaining hair. Once the bun is secured, release the face-framing sections and either curl them with a small barrel iron for soft waves or press them straight with a flat iron. Let them fall naturally on each side of the face. This breaks up a fully slicked-back look without making it messy. It suits oval, round, and square face shapes, where the tendrils balance the overall proportion.
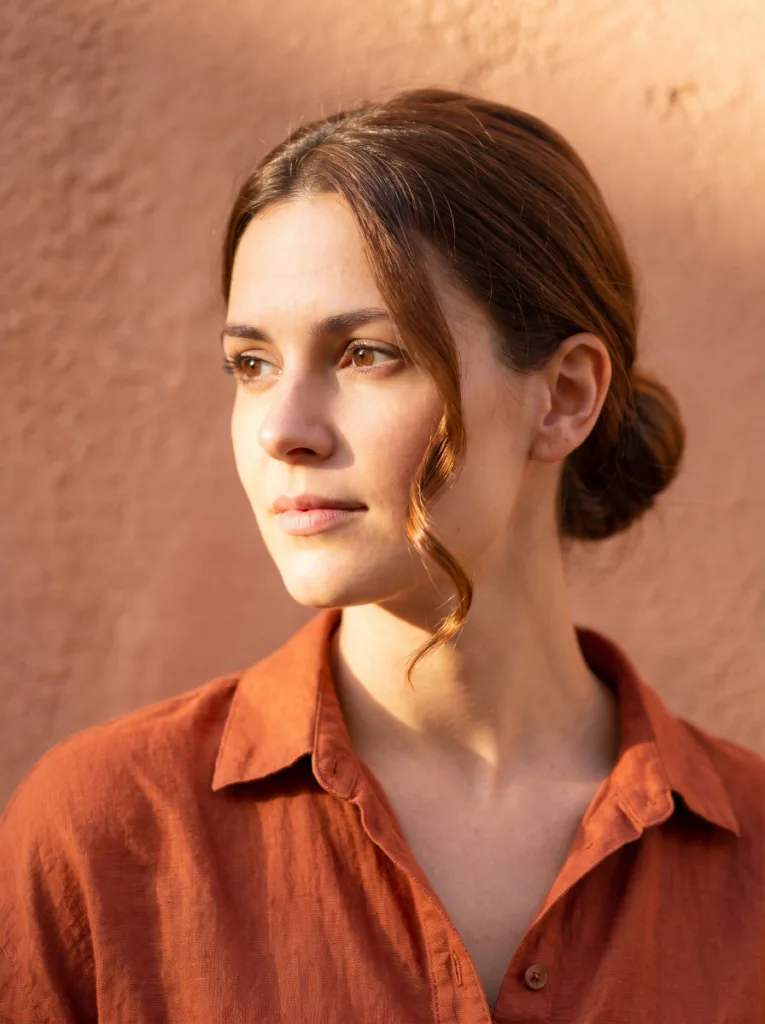
Best for: round and square faces, dates, casual events
5. Sleek Low Bun On Short Hair
Shoulder-length and bob-length hair can do a sleek low bun. The bun will be smaller and tighter, but the look holds. Apply a generous amount of smoothing cream before brushing back, and use strong-hold gel on all edges. Gather what you can at the nape and secure with a small elastic. For layers that don’t reach the bun, press them flat against it with bobby pins rather than trying to wrap them around. If there are short pieces that still won’t cooperate, a pearl clip or clean barrette placed at the base covers the gap and adds a polished touch rather than looking like a fix.
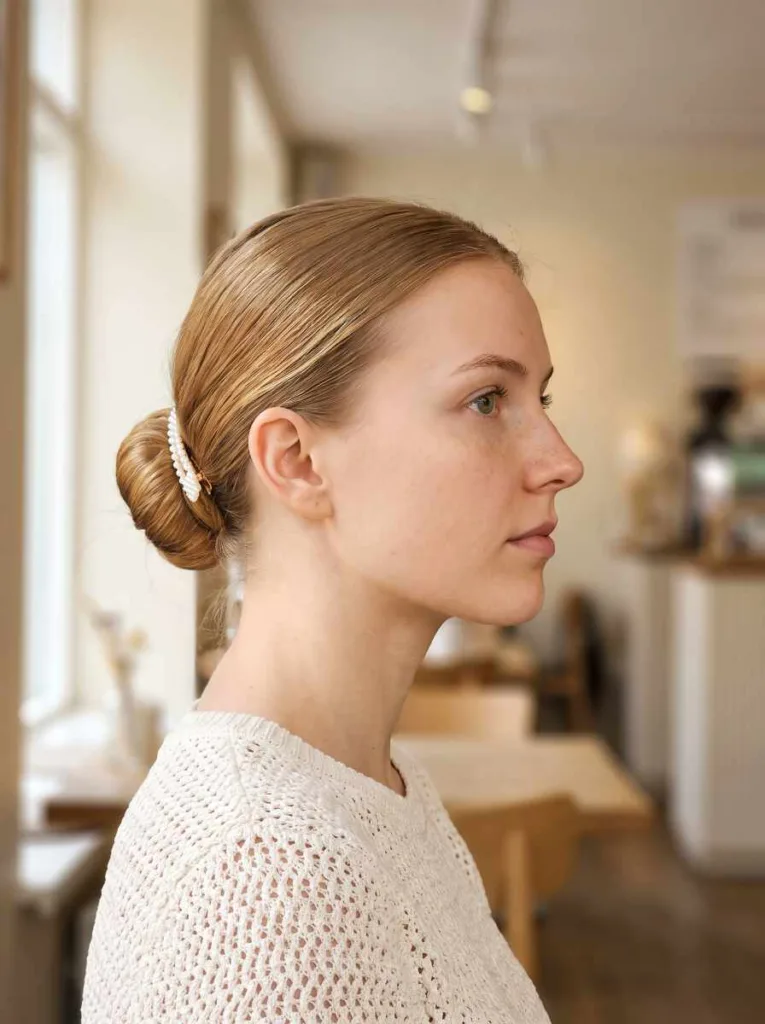
Best for: bob to shoulder-length hair, all occasions
Textured Low Bun Variations
6. Knotted Low Bun
After pulling the hair into a low ponytail and securing it with an elastic, divide the ponytail into two sections. Tie them into a single overhand knot, like the first step of tying a shoe, pulling firmly so the knot sits snug against the elastic. For more structure, knot a second time. Tuck the ends underneath and pin with bobby pins at multiple points around the knot. The knotted shape creates a flatter, wider bun than the coiled version and holds well on medium to thick hair. Finish with gel on the edges and hairspray. This style takes about five extra minutes compared to the classic bun.
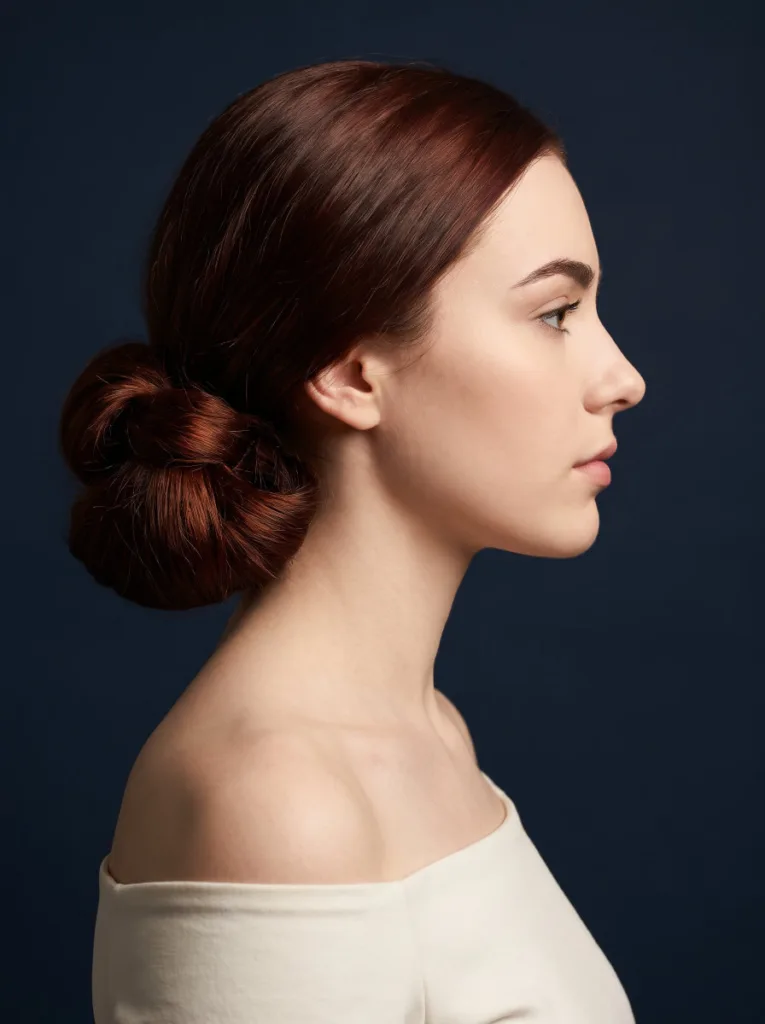
Best for: medium to thick hair, statement occasions
7. Twisted Rope Low Bun
Once the hair is in a low ponytail, split it into two equal sections. Twist the right section clockwise until it’s taut, then do the same with the left section. Cross the two twisted sections over each other, wrapping them together counterclockwise to form a rope. Hold that tension as you coil the rope around the base of the elastic and pin it in place with bobby pins. The rope texture shows through the surface of the bun as a subtle, defined pattern. It holds better on fine to medium hair than the plain coiled version does, because the twist adds internal structure that reduces slipping.
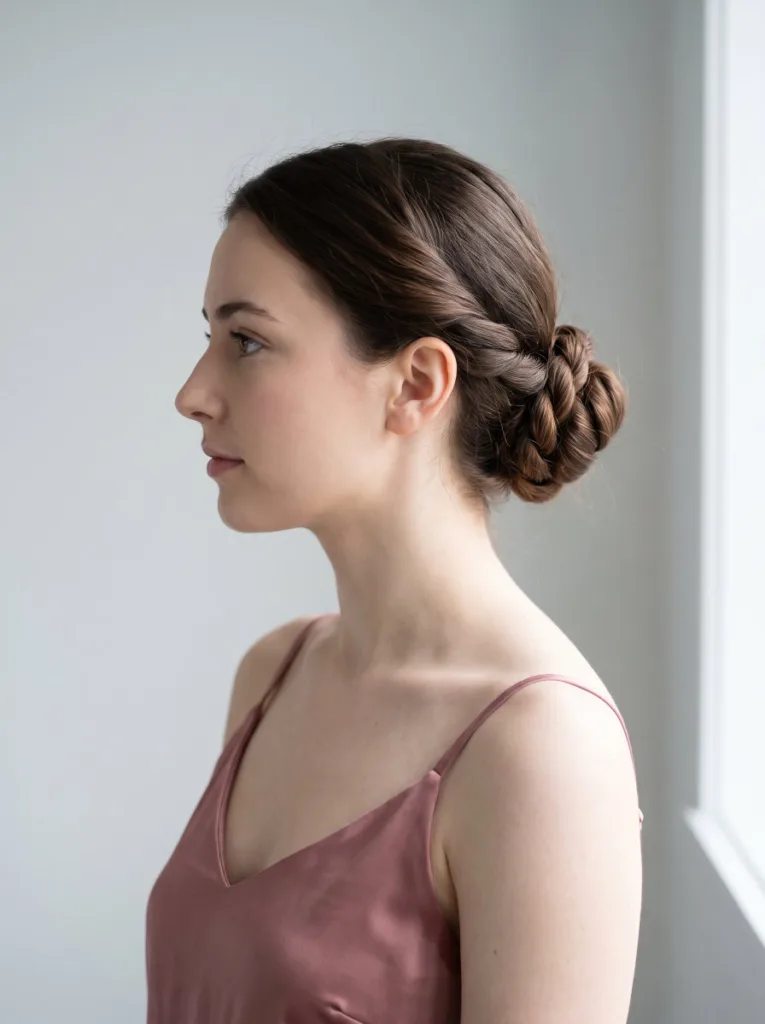
Best for: fine to medium hair, weddings, brunches
8. Braided-Into-Bun
Two approaches work here. The quicker one: braid the entire ponytail into a three-strand braid, then coil that braid around the base and pin it down. The more elaborate one: create a small Dutch or French braid starting at the crown before pulling the rest of the hair back, then incorporate that braid into the ponytail before coiling. Both add visible texture and a more intricate surface to the bun. The coiled braid version looks more romantic; the crown braid version is more structured. Either way, use more bobby pins than usual. Braids create more loose points than a straight ponytail.
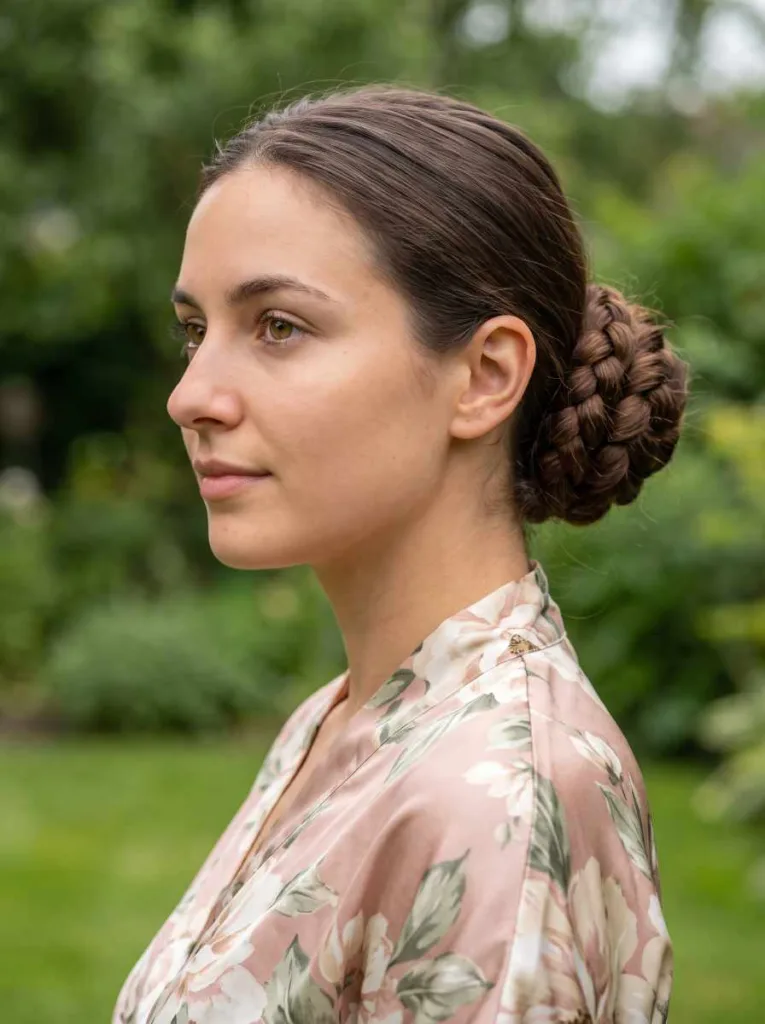
Best for: long hair, weddings, spring and summer
9. Double-Wrapped Low Bun
Secure the ponytail with an elastic at the nape, then twist it and begin wrapping around the base. Instead of tucking the end under after one loop, keep wrapping. Circle the ponytail around the base a second time, pulling it snug on each pass. Tuck and pin the end when the hair runs out. The result is a bun with more layers visible on the surface and more volume than a single-wrap bun. Fine hair that goes flat after one coil benefits from this, and so does medium-length hair where you want more visual weight without any padding.
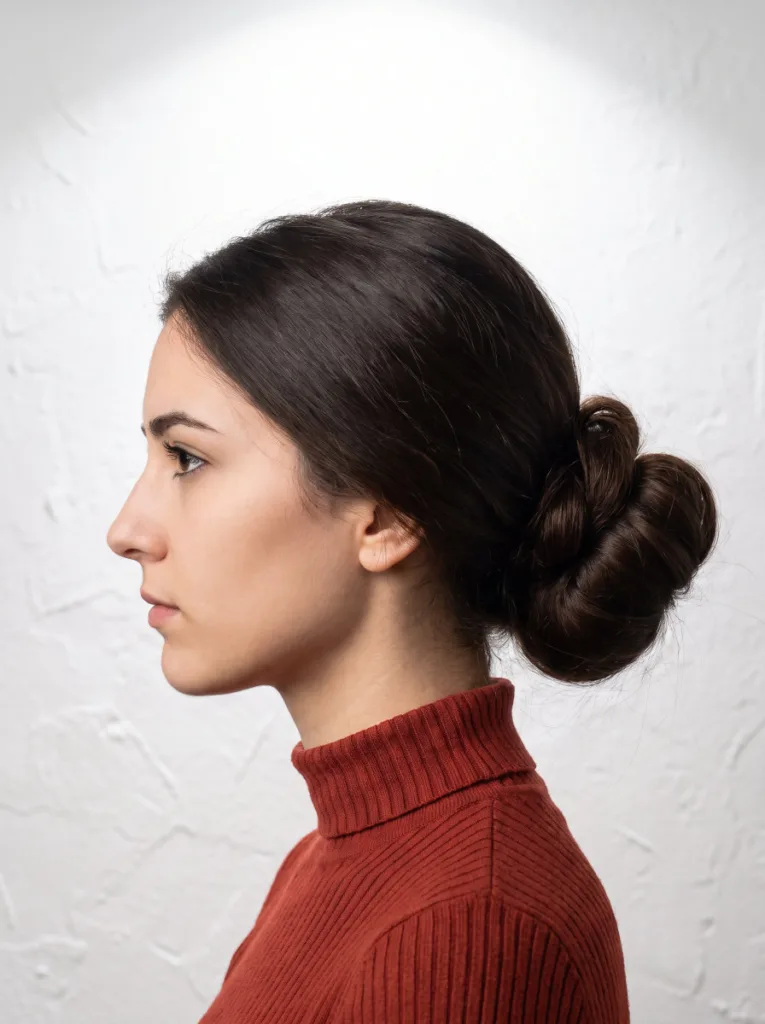
Best for: medium to long hair, fine hair wanting more visual weight
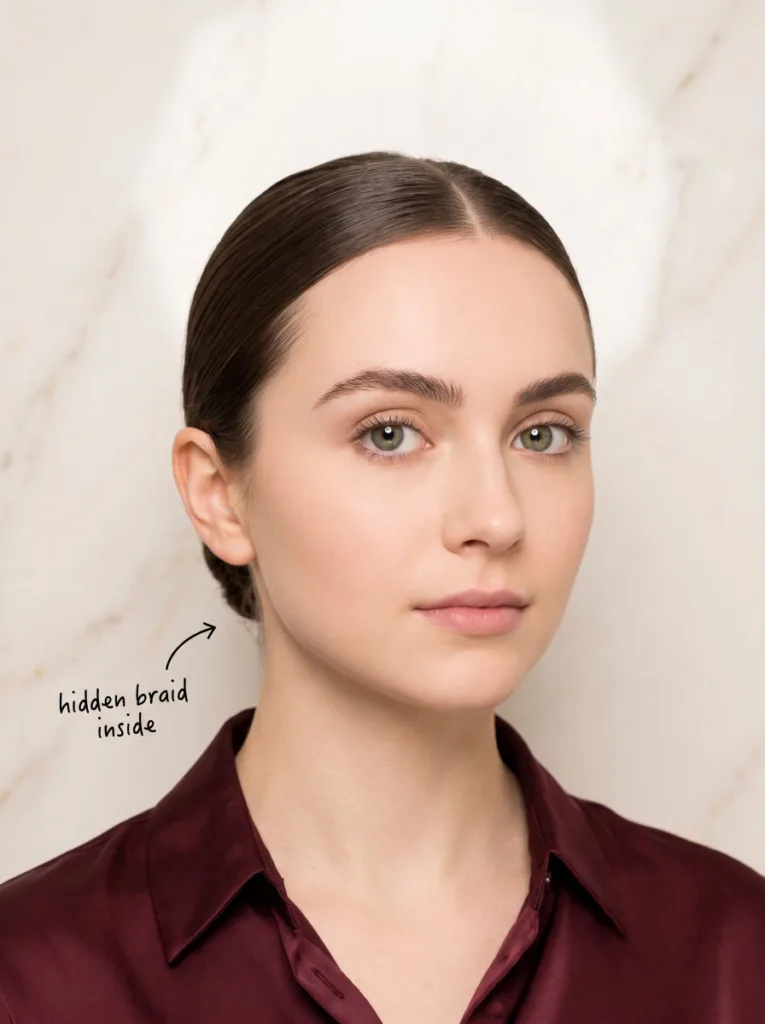
10. Low Bun With A Hidden Inner Braid
Before gathering the hair into a ponytail, section off a two-inch strip at the crown and braid it loosely into a simple three-strand braid. Don’t secure the end. Then brush everything back, the braid included, into the low ponytail and tie it off. When you coil the ponytail into the bun, you fold the braid inside. From the outside, the bun looks smooth and standard. If the braid partially works loose at the nape or crown during the day, it looks like an intentional detail rather than a mistake. Hair needs to be long enough to keep the braid fully contained within the bun when coiled.
Best for: long hair, special occasions
Polished Sleek Low Bun Finishes
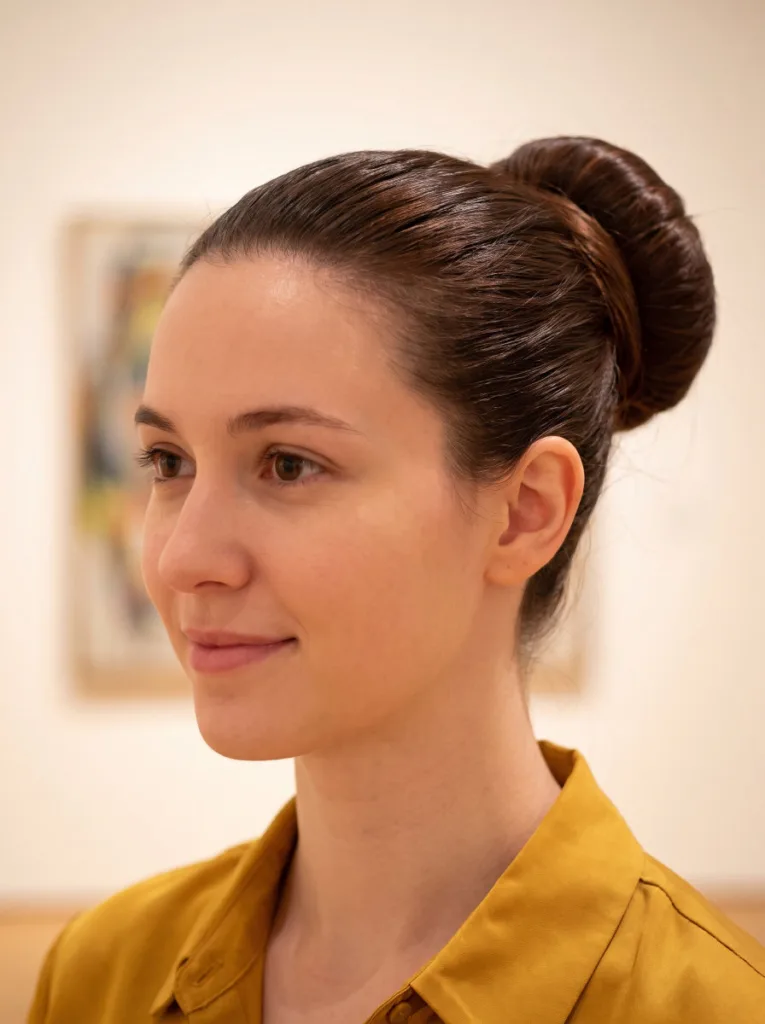
11. Sleek Low Bun With Wrapped Strand
Before securing the ponytail, pull a thin strand (about the width of a pencil) from the underside and clip it aside. Complete the full bun with the remaining hair. Once the bun is pinned and set, unclip that reserved strand, wrap it around the base of the elastic to cover it entirely, and pin the end firmly underneath with a bobby pin. Run a small amount of gel over the strand before wrapping to keep it smooth and in place. This single detail removes the visible elastic from the finished look and makes the bun look more deliberate. It adds roughly two minutes to the process and suits all hair types.
Best for: all hair types, events, date nights
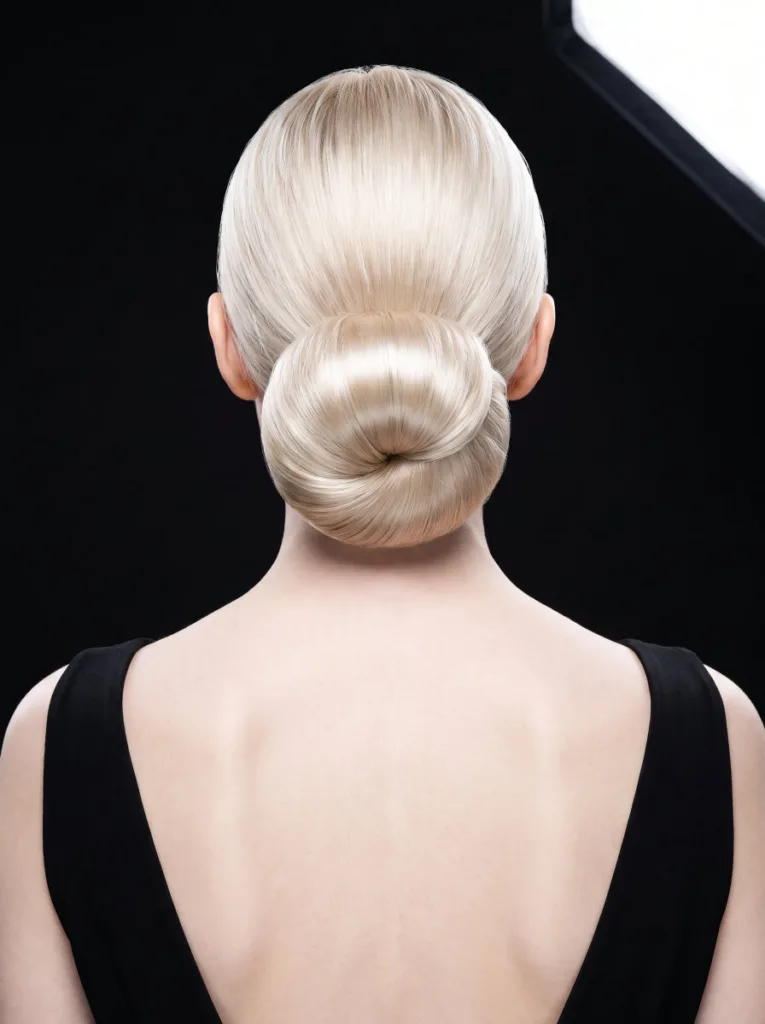
12. Glass Hair Low Bun
Apply A Lightweight Smoothing Serum Through Every Strand While Hair Is Dry, Then Brush back to the nape. When coiling, work maximum firm-hold gel along the surface of the ponytail before wrapping. This creates the glassy texture on the bun itself, not just the scalp. After pinning, press the top section with a spoon warmed under hot water. Apply shine spray over the entire bun from about six inches away, then seal with a light-reflecting hairspray. The finished surface looks almost wet and catches light from multiple angles. This version requires the most product of all twenty styles but holds well and stays glossy through a full day.
Best for: straight and fine hair, editorial looks, formal events
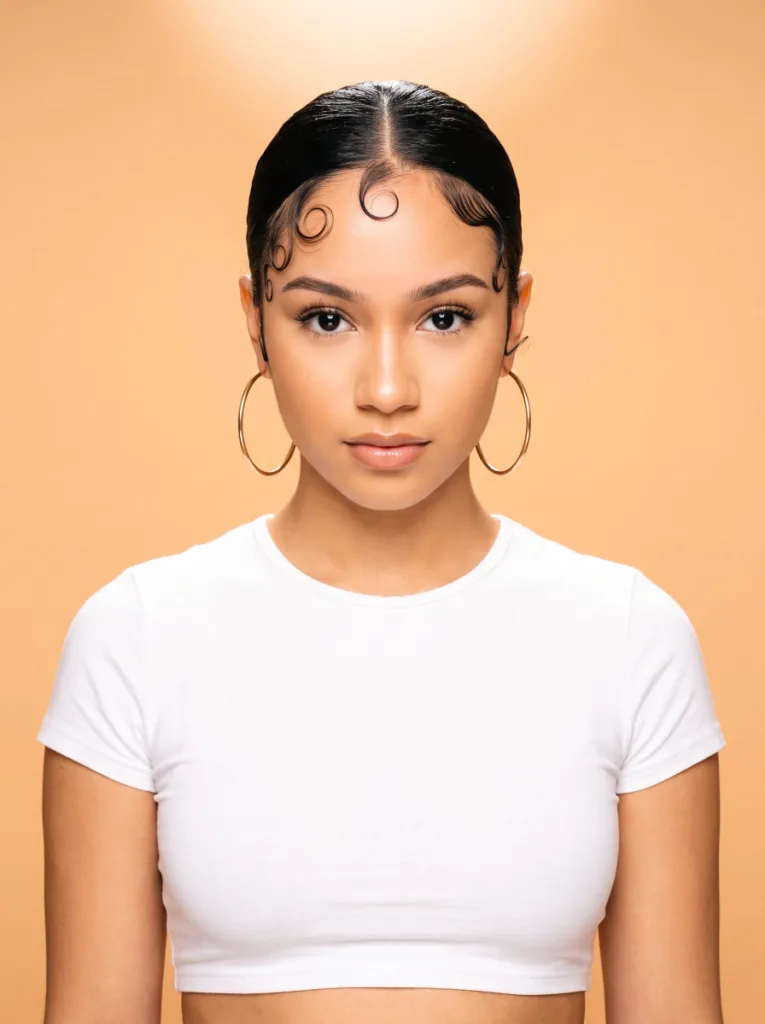
13. Sleek Low Bun With Slicked Baby Hairs
Complete the base bun first, then return to the hairline. Dip a soft toothbrush or edge brush into a small amount of light-hold gel. Too firm and the hairs will look stiff and clumped. Working in one direction at a time, brush each baby hair flat against the skin and shape it into a small swirl, curve, or wave along the forehead and temples. Let dry for a minute before touching. This works best when baby hairs are at least an inch long. It shifts the look from strictly polished to something with more personality, and works across casual, creative, and formal settings without any extra tools.
Best for: natural hair textures, creative looks, casual and formal
14. Low Bun With A Sleek Side Swoop
Part the hair on a deep side, and instead of sweeping everything directly back, take the heavier side and brush it forward and diagonally across the forehead, following the hairline before sweeping it around to the back. Use gel and a brush to keep the swoop smooth and flat against the head. Once that side reaches the back, gather it with the rest of the hair into the low ponytail and bun. The swoop stays visible from the front and creates a face-framing arc. Pin it at the temple with one hidden bobby pin to prevent it from shifting. Hair needs to be long enough for the swooped section to still reach the nape.
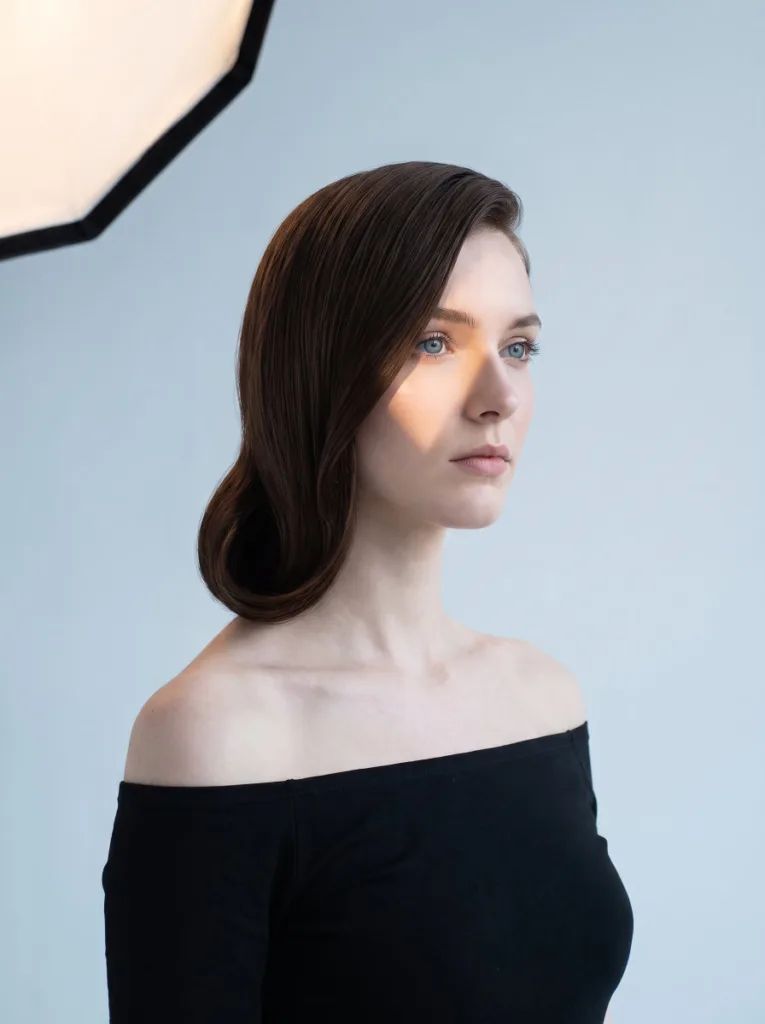
Best for: long hair, face-framing effect, formal occasions
15. Ultra-Tight Chignon
Zero height is the target, with the bun pressed flush against the nape. After coiling the ponytail, use your palm to press the bun flat as you pin it, adding pins around the full perimeter and across the center. Once all pins are in, stretch a fine hairnet over the entire bun and tuck the edges underneath, securing with additional pins. The hairnet keeps this version intact through long events where other bun styles loosen. Finish with a light spray. Medium to thick hair handles this well; fine hair often lacks the bulk to stay flat, even with a hairnet.
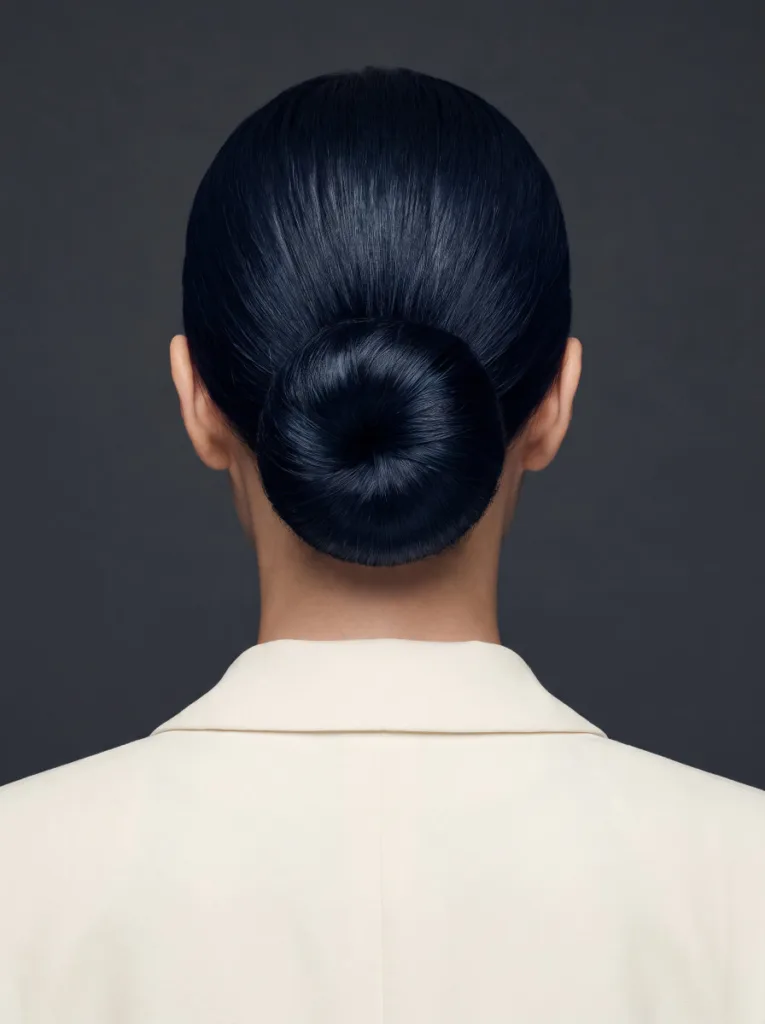
Best for: medium to thick hair, formal events, ballet-inspired looks
Low Bun Hairstyle With Accessories
16. Low Bun With Ribbon Tie
Choose a thin satin or grosgrain ribbon, about 18 to 24 inches long. After gathering the hair into the low ponytail, hold the ribbon at its center and tie it around the base of the ponytail before the elastic goes on, or tie it over the elastic to conceal it. Coil the ponytail into the bun and pin as usual. Bring the two ribbon ends around to the front of the bun and tie them into a small bow. Trim any excess length at an angle to prevent fraying. Satin ribbon suits a dressier look; grosgrain is more casual. Both options hold well through a full day without needing re-tying.
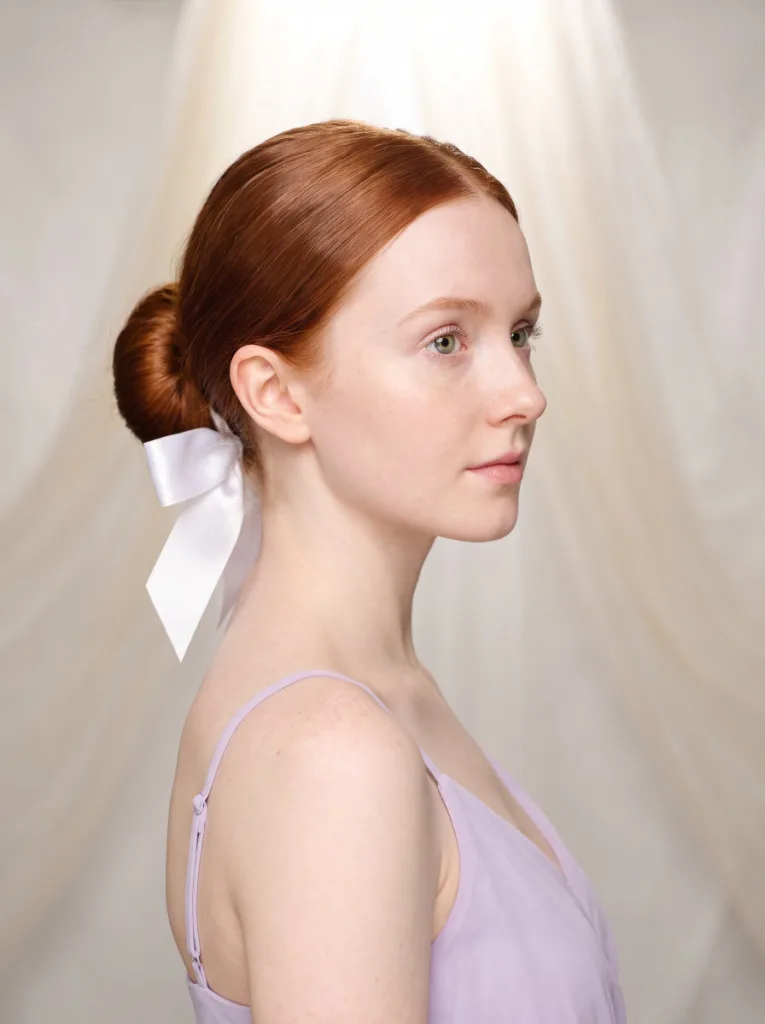
Best for: all hair types, casual and dressy occasions, spring and summer
17. Low Bun With Pearl Pins
Complete the base bun and secure it fully with standard bobby pins before adding pearl pins. The decorative pins add no structural hold, so the bun needs to hold on its own first. Take four to eight pearl-headed pins and push them into the bun at irregular angles, spacing them unevenly across the surface. Skip any pattern. Random placement looks more natural than a deliberate grid. Use pins with a long enough stem to anchor into the bun itself rather than just the surface layer, so they stay in position through movement. Pearl pins work on every hair color and bun size, and they shift the style from daytime to evening without any additional changes.
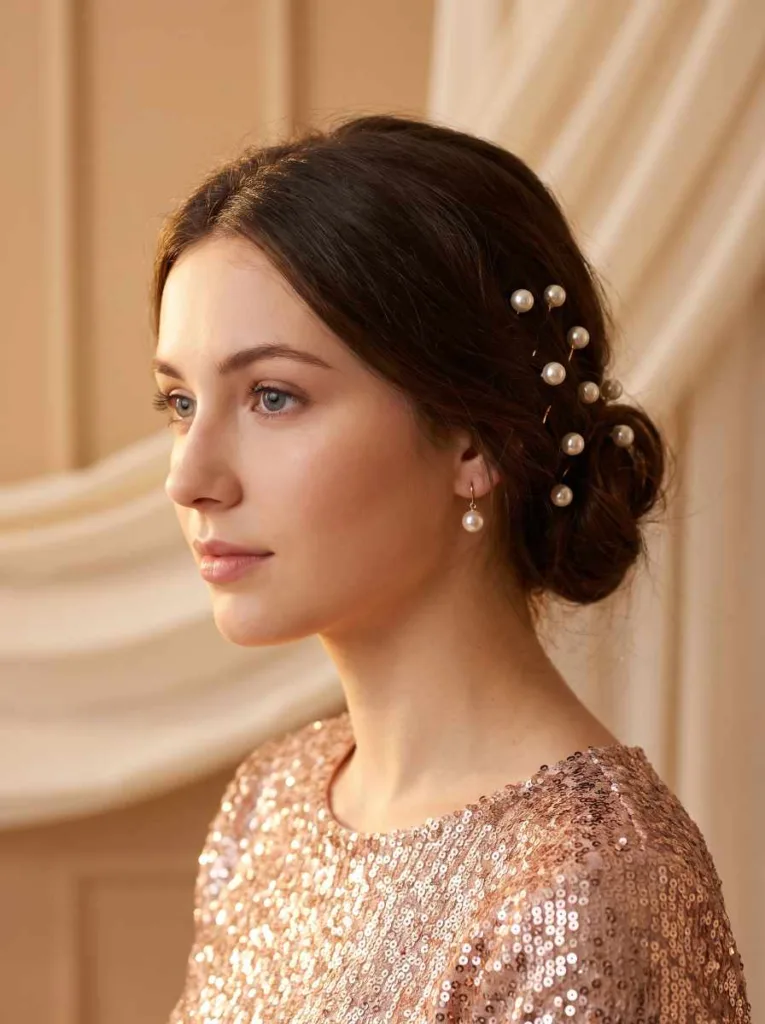
Best for: all hair types, weddings, evening events
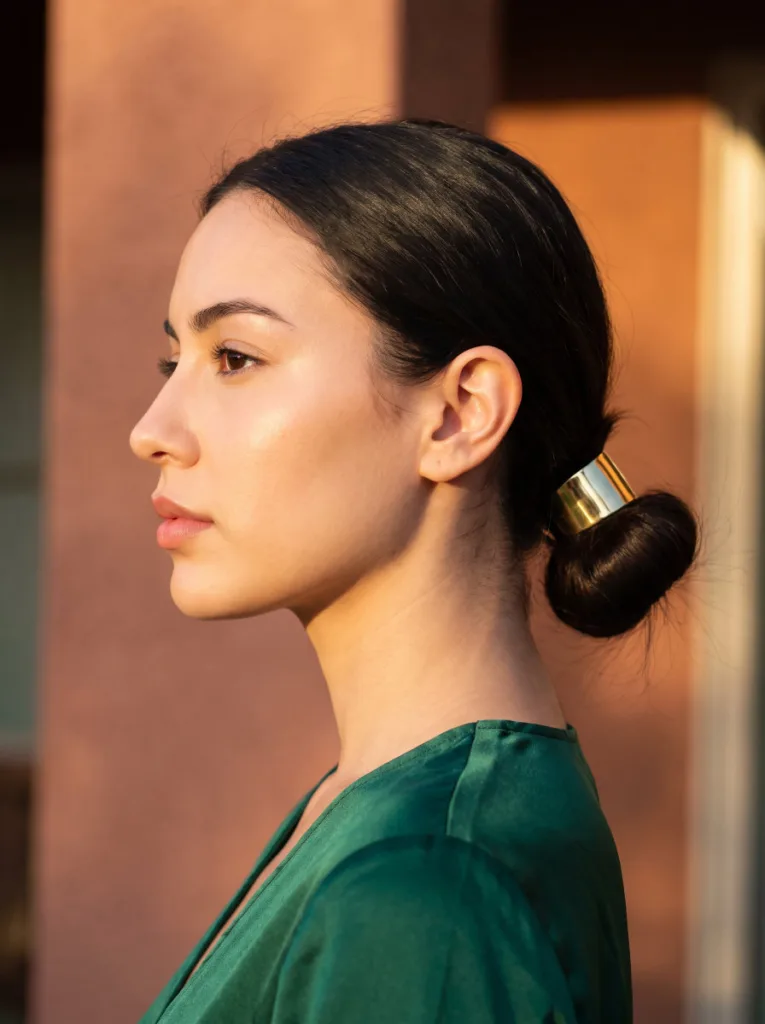
18. Low Bun With A Hair Cuff Or Ring
Before coiling the bun, slide a metal hair cuff (a small open ring in gold, silver, or brass) onto the ponytail and position it about an inch above the elastic. Coil the ponytail into the bun, keeping the cuff visible at the base rather than folding it inside. Pin the bun so the cuff sits at the front or slightly to one side where it can be seen clearly. If the cuff is loose, wrap a small section of hair around it before pinning to hold it in position. This works best with a cuff that has at least a half-inch opening so it doesn’t snag or pull during application. Choose a heavier cuff for thick hair and a lighter one for fine hair.
Best for: medium to thick hair, date nights, going out
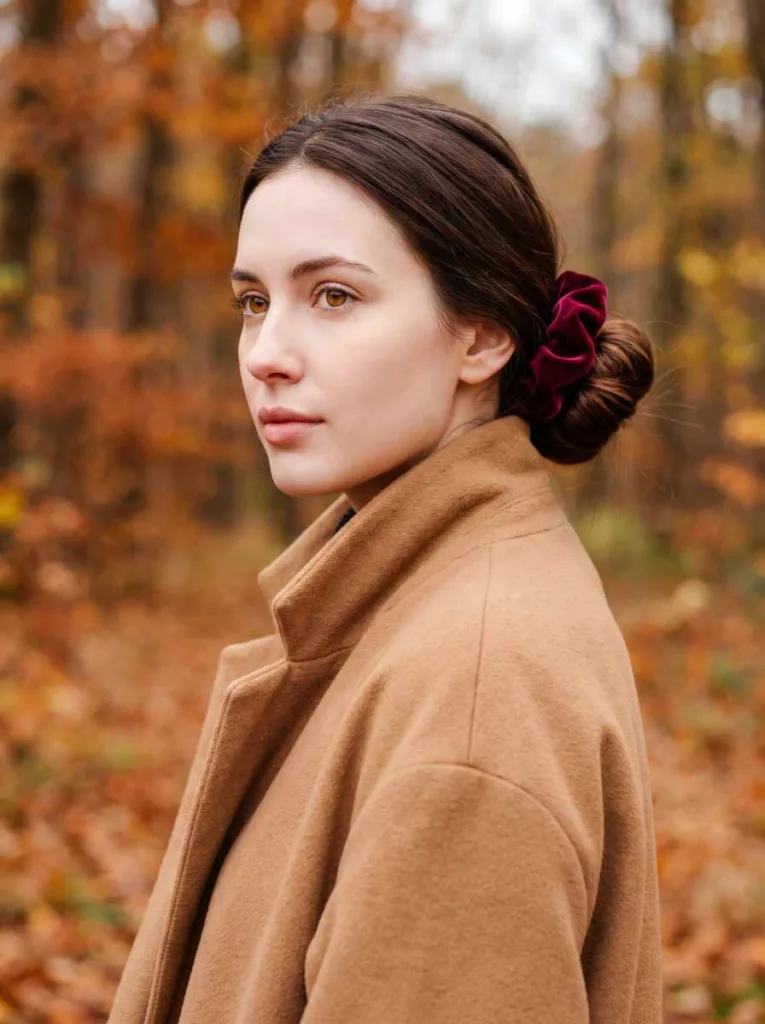
19. Low Bun With A Velvet Scrunchie
Choose an oversized velvet scrunchie. Smaller ones disappear into the bun. Use it as the primary tie instead of a standard elastic. After gathering the hair at the nape, loop the scrunchie twice for medium hold or three times for thicker hair. Don’t coil the hair into a tight bun. Fold the ponytail under itself once and secure with a few bobby pins, leaving the scrunchie sitting visibly at the base. The velvet adds texture and color to the overall look. Deep jewel tones like burgundy, forest green, or navy work well in autumn and winter and photograph well against both light and dark hair.
Best for: all hair lengths, casual and weekend styles, autumn and winter
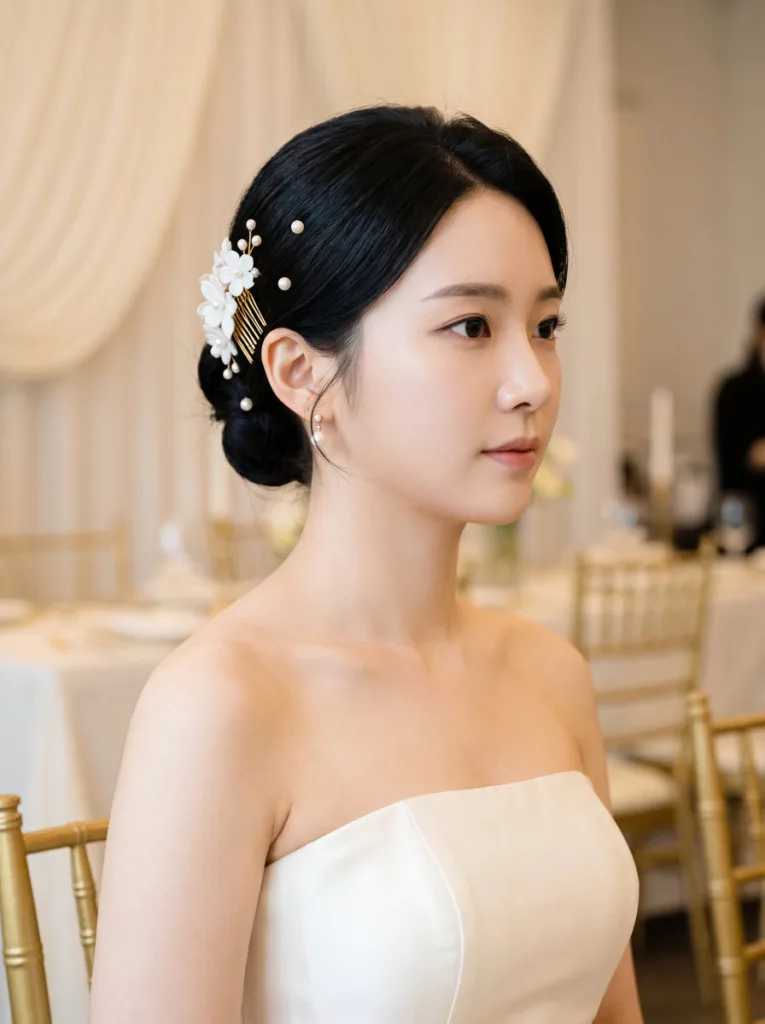
20. Bridal Sleek Low Bun Hairstyle
Start with the wrapped strand technique from style #11 to conceal the elastic. Once the base bun is secured and the strand is wrapped and pinned, apply a few pearl-headed pins across the surface in irregular placement. Next, press a floral hair comb (fresh flowers or fabric both work) into one side of the bun at a slight angle so it anchors without pulling at the hair. Apply smoothing serum before you begin and finish with a firm-hold hairspray to keep the surface intact through a ceremony and reception. Practice this version at least once beforehand to get the comb placement right and confirm the hold time suits your hair type.
Best for: weddings and formal ceremonies, long to medium hair
Wearing The Sleek Low Bun Hairstyle For Different Occasions
For work, the classic center or side-part version is the most reliable option. Keep earrings simple.
On weekends, try the twisted rope or velvet scrunchie version with a couple of strands left loose at the face. This is the easy low bun that takes five minutes and still looks put-together.
For a wedding or formal event, go with styles #11, #15, or #20. These are the elegant low bun options that hold through a full ceremony and reception. A hair comb or small flowers at the side complete the look.
For a low bun updo that crosses from daytime into evening, add one sparkly pin or pull two strands loose at the face. Same bun, different feel.
The sleek low bun also works especially well heading into fall and winter. The polished, minimal look pairs naturally with heavier fabrics and the dressier occasions that come with the season. The accessory-forward styles in this list (ribbon, pearl pins, velvet scrunchie) fit autumn and holiday dressing particularly well.
How To Keep It Looking Good All Day
Gel keeps the surface flat past the first hour. Don’t skip it.
Layer your products: cream first, then gel, then hairspray. They each do a different job.
A small hairspray in your bag handles any hairline frizz that shows up mid-day.
If you do this style regularly, a silk or satin scrunchie under the elastic reduces breakage over time.
A silk pillowcase lets you rewear it the next morning.
Frequently Asked Questions
Can I do a sleek low bun hairstyle on curly hair? Yes. Start with stretched or blow-dried hair. Apply smoothing cream while damp, blow-dry with a paddle brush, then follow any of the styles above. Skip the blow-dry and the bun will be softer and less glass-like, but it holds.
What’s the difference between a low bun and a chignon? A chignon is a specific type of low bun: flat, coiled, at the nape. Every chignon is a low bun; not every low bun is a chignon.
How do I avoid bumps? Brush in sections rather than grabbing everything at once, and apply a small amount of gel before you start brushing. Pace matters more than product choice here.
How long does it take? The basic version: 5–10 minutes once you’ve done it a few times. Accessory-heavy variations like the bridal bun: closer to 20–25. It gets faster with practice.
Does a sleek low bun hairstyle work on shorter hair? Shoulder-length hair, yes. Chin-length and above gets tricky. Bobby pins and hair accessories help, but the bun will be very small.
What gives the glassiest result? A lightweight smoothing serum on the hair, firm-hold gel on the edges, dry oil or shine spray at the end, and hairspray last to seal everything in.
Final Thoughts On The Sleek Low Bun Hairstyle
Twenty ways to wear the same base technique. Once you have the foundation down, switching between variations takes less time than picking an outfit.
Save this post so you have all 20 ideas in one place. You’ll want to come back when you need a quick style and don’t have the mental bandwidth to decide from scratch.
For more helpful articles related to haircut ideas, please visit blushhairflow.