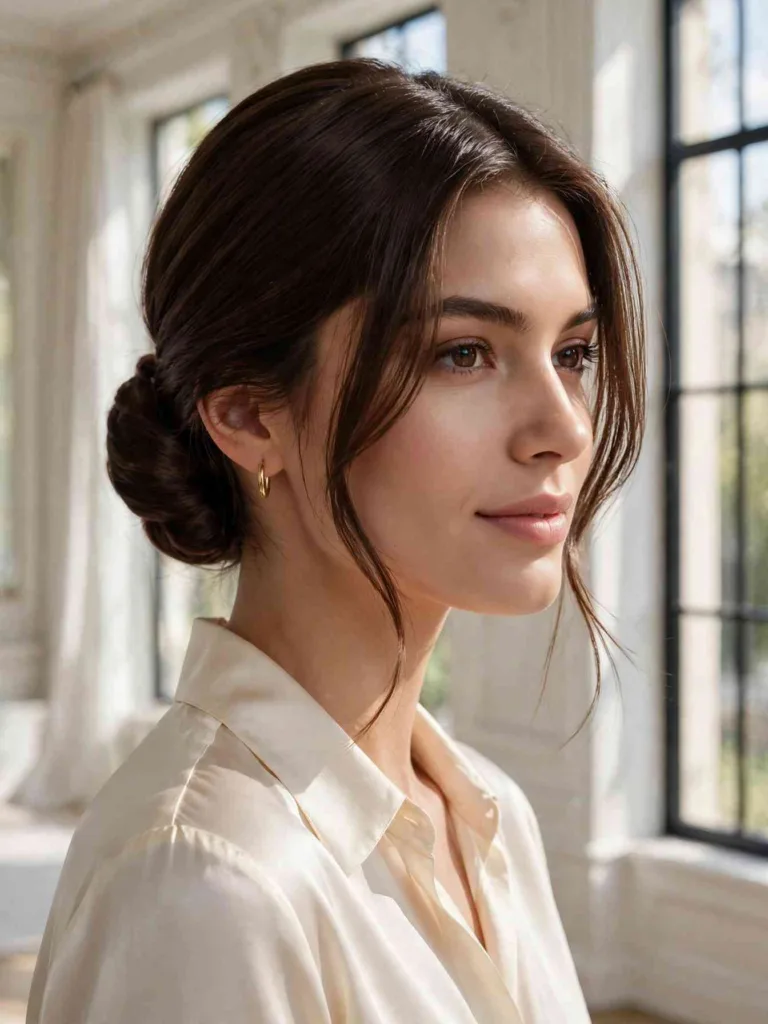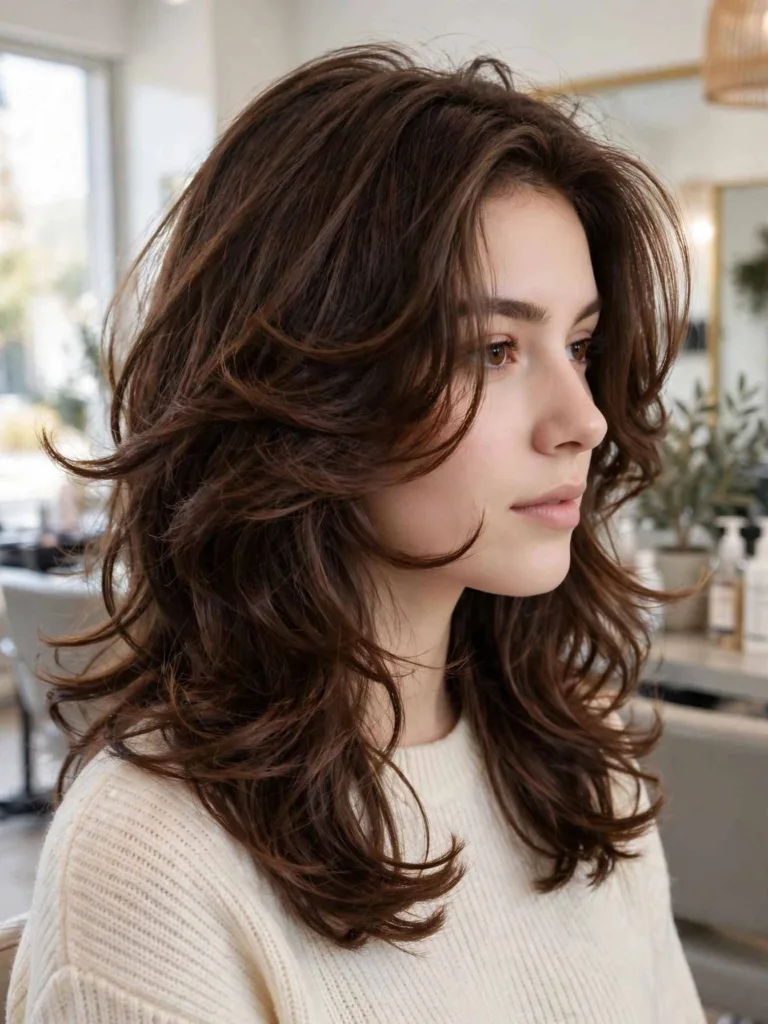
20 Winter Hat Hairstyles for Beanies, Berets & Beyond

Winter hat hairstyles solve the oldest cold-weather trade-off: warm ears or good hair. Pick one, because a beanie flattens everything it touches. The truth is less dramatic. Most hat hair comes from placement, not the hat itself. A style that sits where the hat band presses will lose every time. A style built below the hat line survives the whole commute.
This guide maps 20 winter hat hairstyles to the hats they actually work under. Tight beanies, slouchy beanies, berets, wide-brim fedoras, ear warmers, and pom-pom toppers all get their own section. Each one is placed where the hat does not sit. You also get a hat-type matching matrix and a static-defense playbook. A two-minute recovery covers the moment the hat comes off.
Winter hat hairstyles are simply styles placed low or flat so a hat fits over them without crushing volume. Keep reading for the full map.
Under the Beanie
The beanie is the strictest hat. Its band presses a ring around the crown, and the knit traps every flyaway against dry air. The styles below keep volume out of the band zone. They move the weight low, where the hat never reaches.
1. The Loose Side Braid

Sweep all your hair over one shoulder and braid it loosely, starting behind the ear. The braid sits entirely below the beanie’s bottom edge, so nothing competes with the band. Keep the braid soft by pulling the edges gently wider as you go. That looseness matters. A tight braid pulls the roots flat the second the hat comes off. Tuck the tail inside your coat or let it fall over your scarf. Plan on five minutes, and the difficulty is easy.
Best for: Long hair and windy commutes where a beanie is non-negotiable. Ask your stylist for: Long layers that keep the braid full without blunt ends poking through.
2. Two Dutch Braids

Part your hair down the middle and build two Dutch braids from the hairline to the nape. Dutch braids sit flatter than French braids because the sections cross under. The beanie slides on without snagging. The two-braid layout also splits the friction across two anchors. Less rubbing means less static cling at the crown. That is why braids rank among the most practical winter hat hairstyles. Finish each braid at the nape with a small elastic, or join them into one tail. Seven minutes, easy to moderate.
Best for: Active days, ski trips, and hair that tangles easily under wool. Ask your stylist for: Face-framing pieces long enough to tuck into the braid start.
3. The Low Flip-Through Ponytail

Gather hair into a low ponytail at the nape. Above the elastic, split the hair into two halves and flip the tail up through the gap. The result looks like a twisted knot but takes ninety seconds. It sits flat under any tight beanie because the twist adds no height at the crown. Pull a few pieces loose at the front so the style does not read severe. Two minutes, genuinely easy, and it works on fine hair that slips out of fancier styles.
Best for: Fine hair, rushed mornings, and tight-fitting beanies. Ask your stylist for: A clean, even perimeter so the flip-through looks smooth.
4. The Low Twisted Chignon

Twist the lengths into a rope, coil it flat against the nape, and pin it. A low chignon clears the beanie edge by a full inch. The hat never presses dents into the style. The rope twist adds grip, so it holds through a day of on-and-off hat wear. Smooth the surface with your palms before pinning. A pea-sized drop of anti-frizz serum on the surface cuts the fuzz that wool raises. Eight minutes, moderate difficulty.
Best for: Office days when the beanie comes off at the door and polish matters. Ask your stylist for: Internal layers that coil without bulky ends.
5. Relaxed Natural Waves

Wash, add leave-in conditioner, and let your hair air-dry into its natural wave before the beanie goes on. Celebrity stylist Oscar Blandi agrees. He likes “a little texture and wave” under hats, and finds it beats pin-straight lengths. The wave gives the style something to fall back into after compression. Scrunch the lengths once the hat is off to wake the pattern up. Zero styling time in the morning, and the difficulty is none.
Best for: Wavy and curly textures on no-heat weeks. Ask your stylist for: Long layers that encourage the natural wave pattern.
6. The Bubble Braid Ponytail

Secure a low ponytail, then add elastics every two inches and puff each section into a bubble. The bubbles sit below the hat line, so the beanie never crushes them. This style also holds up when the hat comes off and goes back on. The elastics hold each section independently. Keep the top bubble small so the hat band rests cleanly above it. Space the elastics evenly for the neatest look. Six minutes, easy, and it reads playful without trying hard.
Best for: Weekends, college campuses, and medium to long hair with some texture. Ask your stylist for: Even, one-length ends that puff into uniform bubbles.
7. The Low Side Bun

Gather everything low and to one side, then twist it into a soft bun behind the ear. An off-center bun never fights a centered beanie seam. It also keeps the weight off the back of the neck. The asymmetry also photographs well when the hat tilts, since the bun peeks out on the open side. Pin at three points and pull the surface loose for softness. It is one of the neatest winter hat hairstyles for side-part wearers. Six minutes, easy to moderate.
Best for: Side-part wearers and anyone whose beanie has a center seam. Ask your stylist for: A deep side part mapped to the natural growth pattern.
Under the Beret
A beret sits tilted and barely covers the crown. It needs softness on the exposed side and grip on the covered side. The trick is building the style slightly off-center, matching the beret’s own angle. Everything below stays loose and touchable.
8. Side-Swept Bangs With a Low Bun

Sweep bangs or front pieces across the forehead, then gather the rest into a low bun at the nape. The beret tilts over the opposite side, leaving the swept bangs visible. This is the classic beret pairing for a reason. The bangs give the hat something to frame, and the low bun stays clear of the inner band. Pin the beret with one small clip on the covered side so it cannot slide. Eight minutes, moderate.
Best for: Anyone with bangs or curtain pieces who wears berets regularly. Ask your stylist for: Bangs cut to cheekbone length so they sweep without poking the eyes.
9. The Beret-Skew Side Chignon

Build a chignon low and to one side, then tilt the beret to the opposite side. The asymmetry looks deliberate because the hat and the hair balance each other. Roll the lengths upward into the chignon and pin along the roll, not through it. That keeps the surface soft. Leave one thin tendril at the temple on the exposed side. Ten minutes, moderate difficulty.
Best for: Evenings out and wool-beret days when the hat is part of the outfit. Ask your stylist for: A blunt cut at the ends, which rolls into a cleaner chignon.
10. Low Ponytail Draped to One Side

Pull hair into a low ponytail, then drape it over one shoulder on the side opposite the beret tilt. Wrap a one-inch section of hair around the elastic and pin it to hide the band. The drape keeps every strand visible and touchable while the beret does its tilted thing. A drop of serum on the lengths keeps the drape smooth in dry air. Four minutes, easy.
Best for: Long, straight to wavy hair and minimal-effort beret days. Ask your stylist for: Long layers that drape without flipping outward at the ends.
Under the Wide-Brim and Fedora
Wide-brim winter hats and felt fedoras crown the whole head and cast a shadow over the hairline. They reward sleekness and polish. Volume at the crown fights the hat’s own shape. Keep the top smooth and let the interest live at the ends and sides.
11. Slicked Straight Lengths

Blow-dry hair smooth with a round brush, then press the top flat with a straightening iron. A sleek sheet of hair under a wide brim reads expensive because the hat frames the gloss. Run anti-frizz serum through the mid-lengths before the iron. The felt brim generates friction at the hairline, and serum is the buffer. Tuck the front pieces behind the ears once the hat is on. Fifteen minutes with a blowout, moderate.
Best for: Straight textures and dressy winter events under felt hats. Ask your stylist for: A sleek, one-length cut or long layers that iron out cleanly.
12. The Low Back Ponytail
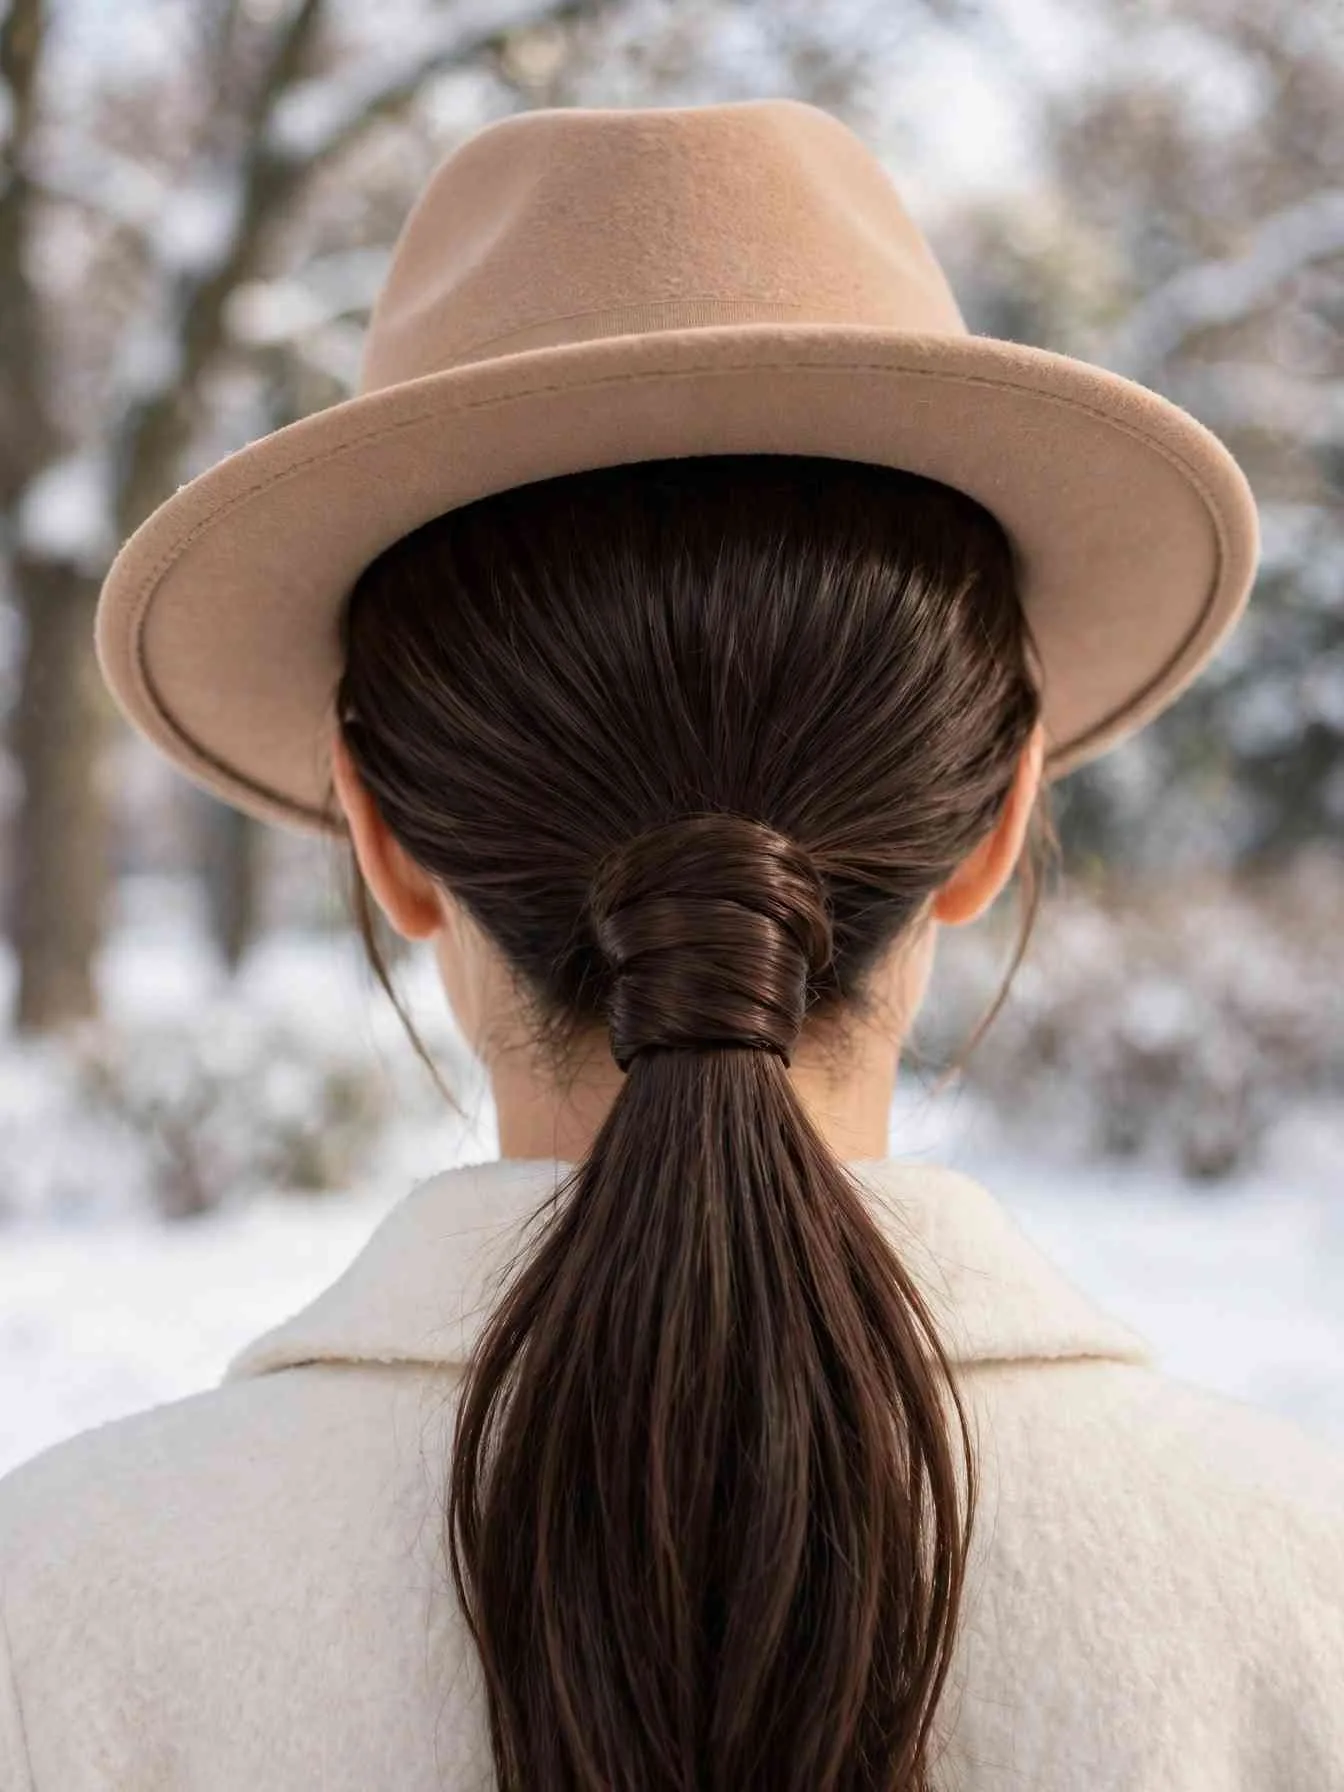
Gather hair into a low, centered ponytail at the nape and smooth the crown flat. The wide brim needs a clean crown to sit level, and a low pony delivers exactly that. Wrap hair around the elastic for polish. Let the tail fall straight down the back or over one shoulder. The whole style takes four minutes. It handles the hat going on and off because there is no crown volume to crush. Easy difficulty.
Best for: Thick hair that needs containing and hats with stiff brims. Ask your stylist for: Weight removed at the ends so the tail lies flat.
13. The Rolled Chignon

Roll the lengths upward from the ends to the nape, pinning as you go, into a compact chignon. The rolled shape sits entirely below the hat’s crown clearance, so a fedora rests level on top. This is the most polished pick for wide-brim days. Mist with flexible hairspray before the hat goes on. The hold needs to survive felt friction at the hairline. Ten minutes, moderate to difficult.
Best for: Winter weddings, gallery days, and anyone pairing a fedora with a coat. Ask your stylist for: Enough length past the shoulders to complete a full roll.
Under Ear Warmers and Pom-Pom Hats
Ear warmers cover a band across the forehead and ears, leaving the crown free. Pom-pom beanies have room at the top but a tight band at the edge. Both invite height and playfulness that a tight beanie would crush.
14. The Curly Halo

Wear the beanie pushed back like a headband, letting the full curl pattern frame the face. The halo uses the hat as a frame instead of a lid. Scrunch leave-in conditioner into damp curls before the hat goes on. The curls hold their shape against the knit. Curly halo styles are among the most joyful winter hat hairstyles. This only works with a stretchy beanie worn high on the forehead. Five minutes, easy.
Best for: Type 3 curls and anyone who refuses to flatten their pattern. Ask your stylist for: A rounded shape cut that falls evenly around the face.
15. The Slouchy High Bun

Gather hair high and coil it into a loose, airy bun, then pull a slouchy beanie on behind it. The bun sits in the hat’s roomy crown instead of under its band. Keep the knot soft and slightly messy. A tight bun presses into the scalp under knit. The slouch hides the bun’s edges, so imperfect pinning disappears. Five minutes, easy.
Best for: Slouchy and pom-pom beanies with real crown room. Ask your stylist for: Long layers that coil into a full, soft knot.
16. Double Space Buns

Part down the middle and build two buns high on each side. Space buns pair naturally with pom-pom hats because the whole look is playful on purpose. Keep both buns soft and slightly uneven. Matching exactly looks stiff. Pin each at three points so the hat band cannot drag them loose. The height clears the band entirely. Eight minutes, easy to moderate.
Best for: Weekends, ski lodges, and younger styling moods. Ask your stylist for: A clean center part that stays put under the style.
Hair-Type Matches and the Recovery
The last four entries are not hat-specific. They answer the questions every hat wearer asks. What if my hair is fine, curly, or short? What do I do when the hat comes off?
17. Fine Hair: The Volume-Prep Under Any Hat

Fine hair loses volume fastest under a hat, so the fix starts before the hat goes on. Flip your head forward and blast the roots with a dryer for thirty seconds. The upside-down direction builds lift at the roots where the hat band will press. Add a light mist of dry shampoo at the crown for grip. Then choose any low style from this list. The prep takes three minutes and changes everything about how fine hair behaves under knit.
Best for: Fine, straight hair that goes limp by noon. Ask your stylist for: A cut with subtle crown layers that lift without teasing.
18. Curly-Coily: The Pineapple Tuck

Gather curls into a high, loose ponytail at the very top of the head. Tuck the tail forward under a slouchy beanie. The pineapple keeps the curl pattern off the hat band and protects the ends from wool friction. Use a satin scrunchie instead of a tight elastic. The smooth fabric grips without snagging the curl pattern. When the hat comes off, shake the roots gently and the curls spring back. Four minutes, easy.
Best for: Type 3 and 4 curls and protective styling through winter. Ask your stylist for: A shape that gathers high without tension at the hairline.
19. Short Hair: The Textured Crop Under a Beanie

Work a pea-sized amount of matte paste through dry hair, pushing the texture forward and piecing the ends. A textured pixie or short bob needs no rearrangement under a beanie. There is nothing to crush. The paste keeps the pieces separated so the style survives compression. When the hat comes off, ruffle the roots with your fingertips and the texture returns. Two minutes, the easiest entry here.
Best for: Pixies, short bobs, and anyone who thought hats were not for short hair. Ask your stylist for: Choppy texture through the top that revives with a shake.
20. The Hat-Off Recovery: The 2-Minute Bounce-Back

This is the routine for the moment the hat comes off. Tip your head forward and shake the roots loose with your fingertips. Mist dry shampoo at the crown, wait ten seconds, then massage it in. The powder absorbs the flatness that the band pressed in. Flip back up and smooth the surface with your palms. Finish with one drop of serum on the ends only. Two minutes, no mirror needed, and it works on every winter hat hairstyle in this list.
Best for: Everyone. This is the single most useful routine in the article. Ask your stylist for: Nothing. This one is all technique.
The Hat-Type Match Matrix
Use this table to match any of the 20 winter hat hairstyles to the hat you own. “Yes” means the style was designed for that hat. A dash means it works but was not built for it.
| Style | Tight Beanie | Beret | Wide-Brim / Fedora | Ear Warmer / Pom-Pom |
|---|---|---|---|---|
| 1. The Loose Side Braid | Yes | — | Yes | Yes |
| 2. Two Dutch Braids | Yes | — | Yes | Yes |
| 3. The Low Flip-Through Ponytail | Yes | Yes | Yes | Yes |
| 4. The Low Twisted Chignon | Yes | Yes | Yes | — |
| 5. Relaxed Natural Waves | Yes | Yes | Yes | Yes |
| 6. The Bubble Braid Ponytail | Yes | — | — | Yes |
| 7. The Low Side Bun | Yes | Yes | Yes | — |
| 8. Side-Swept Bangs With a Low Bun | — | Yes | Yes | Yes |
| 9. The Beret-Skew Side Chignon | — | Yes | — | — |
| 10. Low Ponytail Draped to One Side | Yes | Yes | Yes | Yes |
| 11. Slicked Straight Lengths | — | Yes | Yes | — |
| 12. The Low Back Ponytail | Yes | Yes | Yes | Yes |
| 13. The Rolled Chignon | — | Yes | Yes | — |
| 14. The Curly Halo | Yes | — | — | — |
| 15. The Slouchy High Bun | Yes | — | — | Yes |
| 16. Double Space Buns | Yes | — | — | Yes |
| 17. Fine Hair: The Volume-Prep | Yes | Yes | Yes | Yes |
| 18. Curly-Coily: The Pineapple Tuck | Yes | — | — | Yes |
| 19. Short Hair: The Textured Crop | Yes | Yes | Yes | Yes |
| 20. The Hat-Off Recovery | After any hat | After any hat | After any hat | After any hat |
When in doubt, pick the style whose “Yes” column matches your hat. The matrix favors the hat you wear most, not the prettiest style.
Where the Hat Sits vs Where the Style Sits
Every hat divides your head into three zones. The band zone is where the hat presses. For beanies it is a ring around the crown. For berets it is a tilt line. For wide brims it is the full crown. Nothing with height survives here. The hat-line zone sits just below the hat’s bottom edge. Styles here peek out and frame the face. The free zone is everything below: shoulders, nape, and back. This is where braids, low buns, and draped ponytails live.
The rule is simple. Keep the band zone flat or empty. Build interest at the hat line. Let the free zone carry the style. That is why 14 of the 20 styles above sit at the nape or below. They never argue with the hat. They work around it.
These winter messy bun styles built for the same cold-weather problems follow the same placement logic. They sort buns by the winter problem each one solves.
Hat Fabrics and Friction
Static is the real enemy under a hat, and it has a simple cause. Hair picks up extra electrons through friction, and dry winter air cannot drain the charge away. Wool hats and synthetic knits rub the worst. The strands repel each other, and the result is the wispy halo you see in every mirror by noon. Fine hair shows it most because it is light enough to lift. Marie Claire’s static guide explains why wool hats charge your hair. It quotes trichologist Jade Summers on cuticle condition.
Fabric choice is the cheapest fix. A satin-lined beanie or silk-lined beanie puts a smooth surface between your hair and the knit. Less friction means less charge. Stylist Tom Smith recommends wrapping a silk scarf under a woollen hat for the same reason. Smooth, natural fibers calm hair down. Rough synthetics wind it up. If you buy one winter upgrade, make it the lining, not the style.
Your product kit needs three things. A leave-in conditioner or light cream smooths the cuticle so friction drops. An anti-frizz serum seals the surface on hat days. A dry shampoo at the roots absorbs the flatness after the hat comes off. Keep all three in your bag from November through February. They weigh nothing and save every style here.
These winter hair accessories that refresh any hairstyle make hats easier to wear. The list includes satin-lined beanies, silk scrunchies, and ear warmers matched to hair type.
What It Costs: Salon vs DIY
Every style in this list is DIY-friendly, and the whole article assumes you style at home. A salon visit still helps twice a year. A good cut makes under-hat styles sit flatter. An occasional blowout teaches you the smoothing technique. As a rough US guide for fall 2026, a women’s haircut runs about $30 to $55 at value chains. Mid-range salons charge $65 to $120, and luxury salons run $150 to $400 or more. The national average sits near $69. A standalone blowout runs about $25 to $45 on a budget. Mid-range is $50 to $90, and luxury runs $95 to $200 or more. $35 to $65 is a common benchmark.
Prices vary by city, salon tier, and hair length, so ask for an estimate before you book. For daily hat wear, the DIY route wins. A dryer, a serum, and dry shampoo cost less than one blowout and cover the whole season. Stylists who treat cold-weather damage stress moisture first. These stylists’ cold-weather hair care tips suggest weekly masks and leave-in conditioner for hat-worn hair.
Winter Hat Hairstyles FAQs
How Do I Keep My Hair From Going Flat Under a Beanie?
Build the style below the hat line: low braids, nape buns, and draped ponytails never meet the band. Add dry shampoo at the roots before the hat goes on for grip.
Can I Wear Bangs With a Beanie Without Them Looking Crushed?
Yes. Sweep them to the side and let the beanie sit behind the hairline, not over it. A silk scarf under the hat keeps the pieces smooth instead of staticky.
What Hairstyles Work With a Wide-Brim Winter Hat?
Keep the crown sleek and flat so the hat sits level. Slicked straight lengths, a low back ponytail, or a rolled chignon all work. Avoid crown volume, which tilts the brim.
How Do I Fix Hat Hair in Two Minutes?
Bend forward, shake the roots loose, and mist dry shampoo at the crown. Wait ten seconds, massage it in, flip back up, and smooth the surface with your palms.
Does a Silk-Lined Beanie Really Stop Static?
It reduces it a lot. The smooth lining creates less friction than knit wool, so fewer electrons transfer to your hair. It will not fix already-dry hair, so pair it with leave-in conditioner.
What Is the Best Hairstyle Under a Beanie for Fine Hair?
A low flip-through ponytail or loose side braid. Prep the roots first. Bend forward and blast the roots with a dryer for thirty seconds. Add dry shampoo for grip.
How Do I Wear a Beret Without It Slipping Off My Hairstyle?
Tilt it to one side and pin it with a small clip on the covered side. Build the style slightly off-center to match the angle. A little texture in the hair gives the beret grip.
Can Curly Hair Survive Under a Winter Hat?
Yes, with the right setup. A satin-lined or silk-lined beanie protects the curl pattern from wool friction. Try the pineapple tuck or the curly halo, and refresh with leave-in conditioner after.
Final Thoughts
You never had to choose between warm ears and good hair. The hat was never the problem. Placement was. Pick one style from the matrix that matches the hat you wear most. Try it tomorrow morning. Run the two-minute recovery when you arrive. These winter hat hairstyles make the whole season easier. Winter is long. Your hair does not have to suffer through it.